These days, the cameras in our smartphones exceed the quality of expensive digital cameras from just a few years ago, and they’re only getting better.
But– to quote Spiderman– “with great power comes great responsibility,” and now that most of us have access to high-quality cameras, we could all use a little help taking better photos! Here are 5 easy ways to improve the quality of your photos right away:
1. Avoid Zoom; Crop Instead.

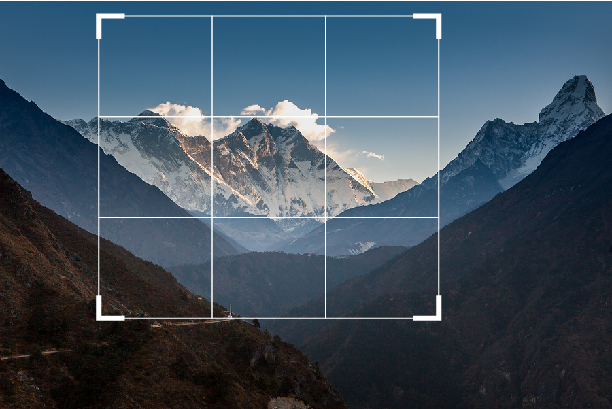
Zooming doesn’t actually add detail. A traditional camera uses the lenses to enhance a subject. Camera phones simply zoom in on the pixels it can already see– It’s kind of like looking really closely at your screen. Sure, the zoomed subject will be bigger, but not any clearer.
The good news is that most camera phones have a fairly high resolution. This means taking your picture and then cropping it down will still result in a large enough picture that your subject will be easily visible.
It’s not going to work if you’re trying to magnify a subject a mile away, but if you’re trying to block something out of your shot, it works much better than zooming.
2. Use “Negative Space”

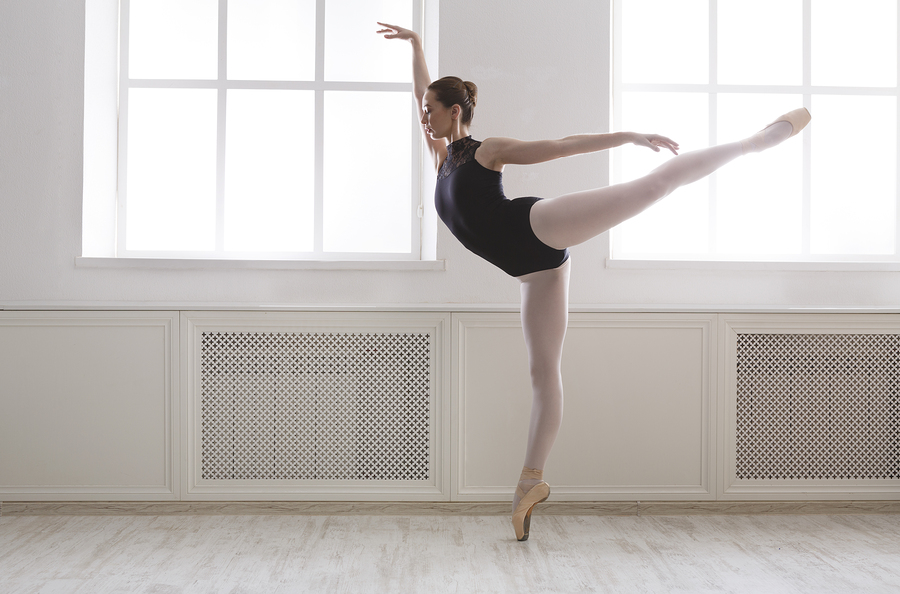
Negative space usually looks like an expanse of surface that doesn’t have a lot of variation. Water, clear sky, a wall, a countertop, or an out-of-focus background draw attention to your subject.
It should be noted that negative space isn’t necessarily empty; we’re not talking about a pure white background. Negative space just needs to be calm enough that it allows your subject to be the focus of the image.
3. Edit Your Photos

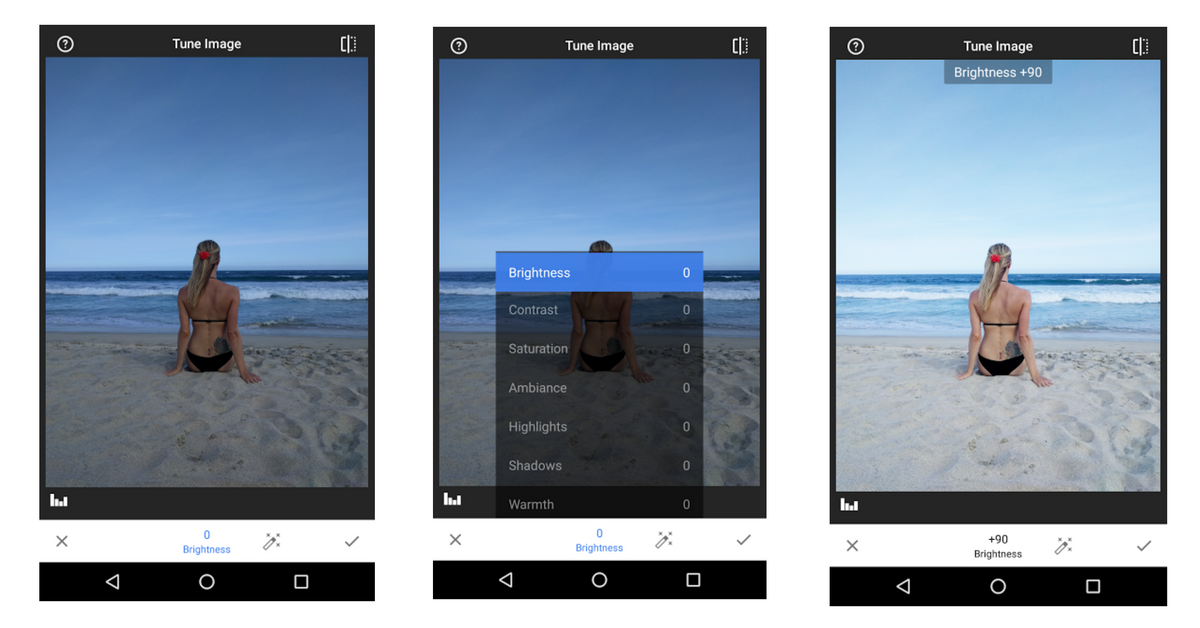
You don’t have to be a Photoshop expert to start doing this. In fact, there are a few easy-to-use apps that can get you started; SnapSeed and EnLight are a couple very useful apps that are both simple to learn and also give you a lot of fun options to play with.
Learning how to set contrast, exposure, brightness, etc. can take your photos to the next level.
4. Use Natural Lighting

Soft light is usually ideal. Soft lighting means there isn’t a small, bright light source that casts hard shadows; think how gentle the light looks on a cloudy day. Also make sure the sun isn’t behind your subject (unless you want a nice sillhouette).
If the lighting is harsher than you’d like, you can still use the shadows to your advantage– play with sillhouettes or the shapes of the shadows to create an interesting image (remember, shadows can be “negative space” too!)
5. Prevent Lens Flare

Lens flare can be a really interesting effect when used properly. But, like filters, lens flare can quickly be overdone– and it’s especially annoying in photos when you don’t want it.
If you are directly facing the sun in your picture, there probably isn’t anything you can do to stop lens flare. But usually you don’t want the sun directly in your picture anyway, unless it’s a sunset. To avoid unwanted lens flare, make sure the sun or other bright light source is outside the image, then use your hand to shield the lens of your camera (not the screen).
You should see an immediate reduction if not total removal of lens flare.
